
Hiya peepers
Shuna here
from Pocket Full of Kinders
I am thrilled to be guest blogging for Greg!!!!!!

I came to take over Greg’s spot for today!
I might not give it back
We shall see
Hehe
Can you tell I am thrilled?
No
Well how about this
YIPPPPPPPPPPPPPPPPPPeeeeeeeeeeeeeeee!
How was that?
Did you hear me? Cause you know I can say it louder!
YIP…………………. Well never mind lets move right along
Don’t want to lose you
Anyhoo
I am joining you to blog about my fav time of the school day……………………………………………………….
Centers!
Today I will be blogging about how to organize centers
So what are centers?
Why are centers needed?
Where do I start?
I know as a first year teacher all of these questions ran through my mind. I was at a complete lost and it took me a while to figure out what the heck I was doing. By no means am I an expert but my principal calls me the small group queen so……………………….
I guess I will toot my own horn
Toot, Toot!
Moving right along
I don’t want to lose you
Back to the matter at hand
It can be very difficult for a teacher to meet each individual child’s need especially when that teacher has 33 kinders (that would be me) for the first 2 months of school! How do you do centers when you have that many children and how do you do them successfully?
I eventually ended up with 29 kiddos and I had 14 stations. I have 2 students per group which made my center time so much easier
I have tried groups of four or five and it was just too darn many and all they did was argue!
Sorry so off topic
Must stop rambling
Must stop rambling
*Shake, Shake*
I think it is all out of my system now
We may now more on
*Shake*
Centers are a great way to differentiate instruction and provide students with opportunities to learn independently
So here goes
Setting up stations

Step 1: Plan your space
Decide how many stations you would like to have and how you want to arrange those stations. It is a good idea to arrange your stations from quiet to loud or loud to quiet. You don’t want your library station right next to the listening station, now would you?
Maybe you would but I sure don’t
I don’t have a large room by any means but I did run 14 stations for literacy and 14 stations for math! It was very messy but we lived
I mean it looked like a hurricane and an earthquake came through and we were the remains after the storm
But it is okay we were learning
Don’t be afraid of a little mess
All of my stations were portable and the students would either go to a table or use the floor for stations.
Mostly the floor because the kiddos liked to lay on it after sitting in chairs all morning
When I set up my room I did so with centers in mind
My stations were arranged as follows
I had my centers arranged so that they flow around the outer edges of the room in a circle
So that when students moved to their next rotation I didn’t have to lose time with them trying to figure out what station to go to next! They just simply moved to the station that was to their right
Here is an example of my station list
Station One being the quietest station and the stations gradually get louder the lower down the station list you go then gradually back to quiet
Remember my station are set up in a circle so Station 14 is actually next to Station 1
Station One: Alphabet/Buddy Reading
Station Two: Listening Station
Station Three: Word Work
Station Four: Library
Station Five: Spelling
Station Six: Computer
Station Seven: Sensory
Station Eight: Word Family/Word Work
Station Nine: Magnet
Station Ten: Word Wall
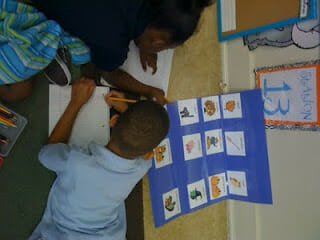
Station Eleven: Pocket Chart
Station Twelve: Write the Room
Station Thirteen: Phonics
Station Fourteen: Journals
When planning your space make sure that you clearly section each area and define each center space. You can do this with a bookshelf, furniture, or rugs.

Step 2:How will you store your center material?
When planning for your stations it is important that you plan how you will store your material
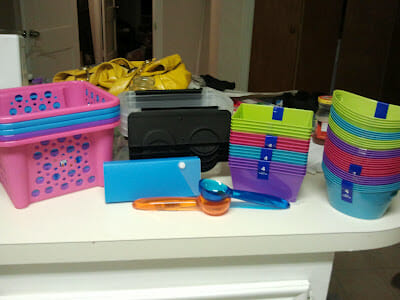
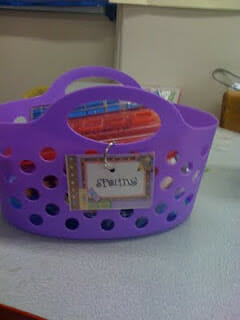
I have a teeny tiny problem with cute storage containers so I use these to store my center materials in

I am very ocd about my center buckets. My centers usually have several parts: games, manipulatives, crayons, pencils and etc
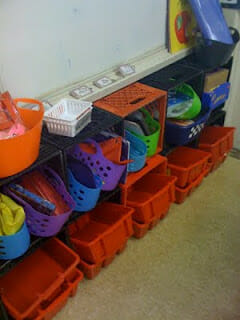
These were my center buckets at the beginning of the year. I don’t have many bookshelves so I had to make one out of crates
The baskets on the top row are for literature centers and the red baskets are for math stations
The buckets are two to a crate so that students know which basket to go and pull. In the first crate there are baskets for stations 1 and 2 in the next crate stations 3 and 4 and so on. The baskets are in the correct order of the stations for example the blue basket in crate one is for Station 1 and the purple basket is for Station 2. The center captains of responsible for getting their basket and putting it back. ( We will talk about center captains in another post)

This is how I stored my center buckets last year
This year I store them a little differently
I have a rolling cart that stores my math centers and my literacy centers are store in flat rubbermaid boxes
( Forgot to snap a pic)
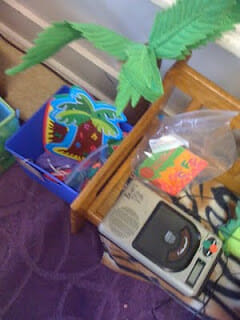
Below are some examples of how I store my material
Each basket has a label so that I along with my students know what belongs in what station.
Inside the spelling station basket is everything they would need to complete the station
I don’t allow my students to walk around during center time so I take a little extra time preparing my centers so that everything students would need is already in their center bucket.

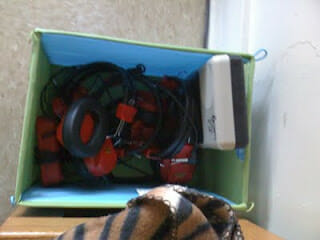
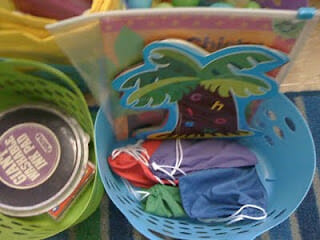
The listening station material remains next to the listening station.

Listening center materials
A book inside the ziploc bag with the cd
Game with pieces and boards for when the students finished listening to the story


Station 3. Setting up your small group area
When my students are in centers that is when I pull my small group
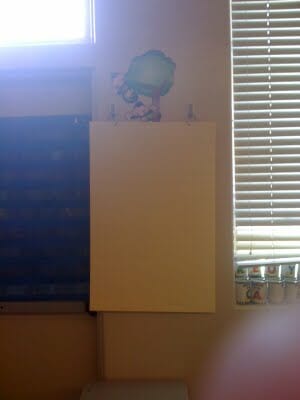
Here is a look at my small group area
My small group area is located in the back of the room so it is far away from the other students while still close enough for me to monitor them
I have a space for my anchor charts that I create with my groups
A pocket chart for various activities and my letter tubs in the windowsill for easy access
The area below the pocket chart is magnetic so I utilize that space also
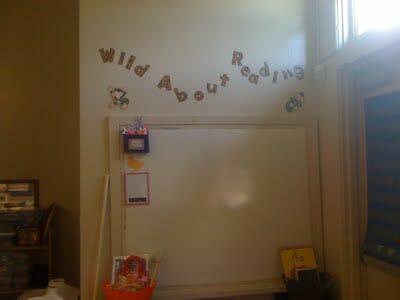
A white board is a must!


IF you don’t have one a table top one will do
The purple bucket on the white board holds student’s pointers for guided reading
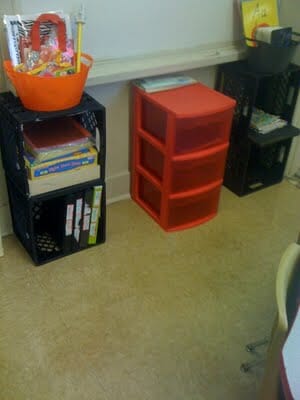
I have two buckets that hold my pointers, small anchor charts, sight words, alphabet cards and picture cards. The crates on the left side hold activities that my small group is working on that week and also binders for me to track their progress.
The pink container in the middle also holds games and reading buddies
The two crates on the right hold another set of alpha cards and also the students guided reading books

Once you have set up your stations and organized them what is next?
We are going to talk a little about how to manage stations so that they will run smooth and effectively for the entire year
Are you ready?
STay with me peeps
When I set up my centers I also determine my center jobs for my students
These are different from classroom jobs
Here are my center jobs
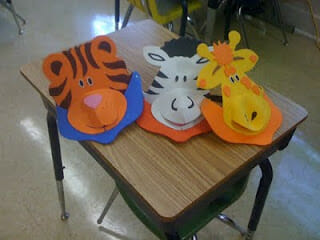
* Center Captain: The center captains are responsible for getting their center card and their center bucket. The center captain gets to wear a special hat and is the only person in that group allowed to disrupt my station or my TA’s station if there is a question

*Material Master: The material master is responsible along with the center captain for putting all material back into their bucket and cleaning up.
* Noise Monitor: simply put they monitor the noise level
If a group gets too loud and is playing in their center the center captain loses their hat and that group can’t get their number for their BINGO Board
I start the year off with a Ten Frame chart with numbers on it as a reward system
If the center groups are on task they get to pull a number and cover the number on their bingo board
When they get all numbers filled on the board they have a small treat such as popcorn for snack
As the students get better in stations I begin to use a 20’s chart, 50’s chart and finally after Christmas I use a 100’s chart to manage center behavior
This is the same idea as behavior bingo I just called mine Center Bingo
Works pretty well for me
———————-Chirp————————–
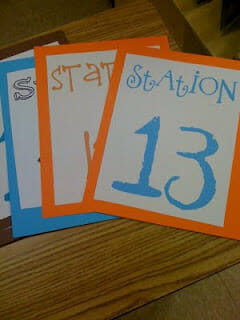
The next thing that I noticed that tends to make my centers run smoothly is using center signs


These are posted around the room and are also written on students center cards that the center captains use
I use a sheet protector wrapped in duct tape stuck to the wall to slide the center signs in